


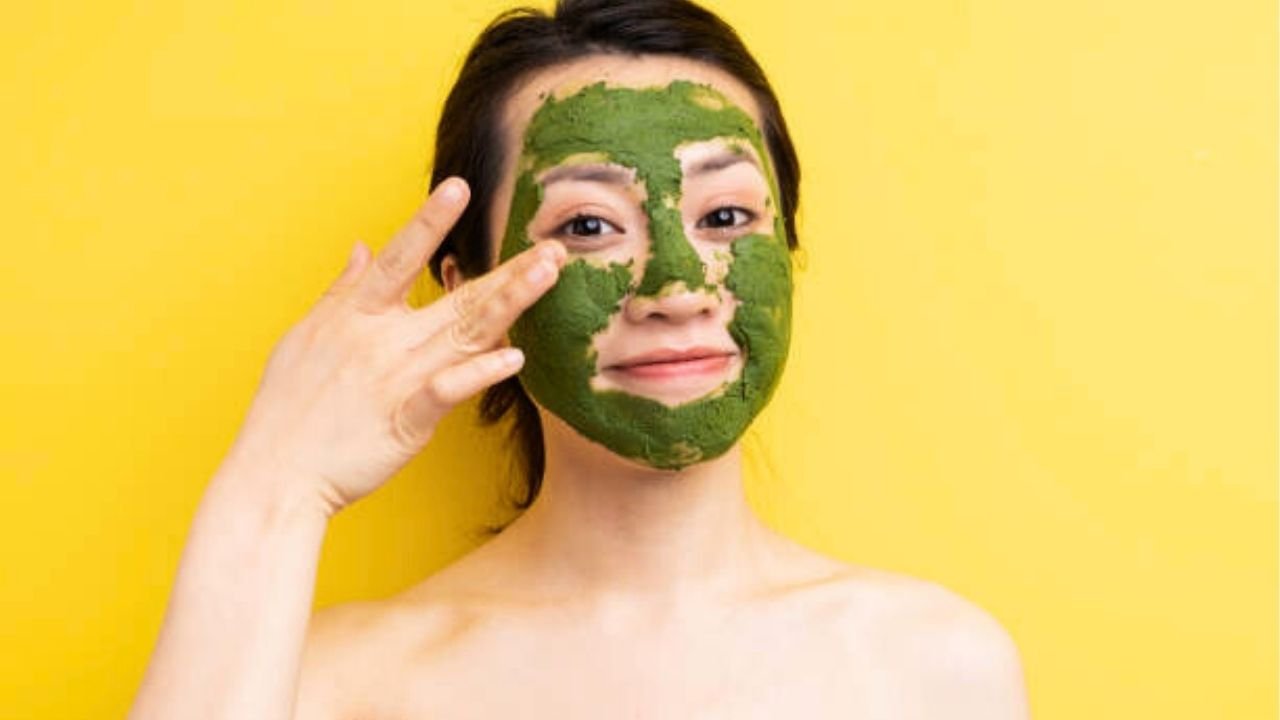
When it comes to skincare, nothing beats the simplicity and effectiveness of DIY face masks. They’re natural, cost-effective, and customizable to suit your unique skin needs. Whether you have dry, oily, sensitive, or combination skin, there’s a homemade mask that’s perfect for you! Here’s a comprehensive guide to creating DIY face masks that will leave your skin glowing.
1. Natural Ingredients : You control what goes into your mask, ensuring there are no harmful chemicals, preservatives, or artificial fragrances that might irritate your skin.
2. Cost-Effective : Homemade masks use readily available kitchen ingredients, making them much cheaper than store-bought alternatives.
3. Customization for Your Skin Type: You can tailor ingredients to your specific skin concerns whether it’s dryness, acne, sensitivity, or dullness.
4. Fresh and Chemical-Free: Since you make them in small batches, DIY masks are always fresh and free from synthetic preservatives.
5. Fun and Relaxing: Making your own masks can be a self-care ritual, providing a relaxing and enjoyable skincare routine.
At the end of the day, skincare should be simple, enjoyable, and nourishing. And nothing feels better than knowing you’re treating your skin with love, the natural way. So go ahead grab that honey, yogurt, or avocado and get masking!
Read More : Top 10 Anti-Aging Creams for Radiant and Youthful Skin
DIY face masks for dry skin
1. Dry Skin Mask: Deep Hydration for Parched Skin
Why it works: Dry skin often lacks moisture, leading to flakiness and dullness. This mask combines honey, yogurt, and olive oil to deeply hydrate and nourish your skin.

Ingredients:
- 2 tablespoons of honey
- 1 tablespoon of plain yogurt
- 1 teaspoon of olive oil
Step-by-step Instructions:
- In a small bowl, mix honey, yogurt, and olive oil until you achieve a smooth consistency.
- Gently apply the mixture to your face, avoiding the eye area.
- Leave the mask on for 15-20 minutes.
- Rinse with lukewarm water and pat dry with a soft towel.
Benefits:
- Honey: A natural humectant that locks in moisture.
- Yogurt: Gently exfoliates dead skin cells for a smooth texture.
- Olive Oil: Rich in antioxidants and vitamins that nourish the skin.
Read More : Top 15 Best Long Lasting Lipsticks: Budget-Friendly & Luxury
Acne-Prone Skin Remedies
2. Oily Skin Mask: Control Shine and Clarify Pores
Why it works: Oily skin can lead to clogged pores and acne. This mask uses bentonite clay and apple cider vinegar to absorb excess oil and balance your skin.

Ingredients:
- 2 tablespoons of bentonite clay
- 1 teaspoon of apple cider vinegar
- 2 teaspoons of water
Step-by-step Instructions:
- Mix the clay, vinegar, and water to form a thick paste.
- Apply an even layer to your face, focusing on the T-zone.
- Allow the mask to dry for 10-15 minutes.
- Wash off with warm water and apply a lightweight moisturizer.
Benefits:
- Bentonite Clay: Draws out impurities and controls sebum production.
- Apple Cider Vinegar: Restores pH balance and fights bacteria.
3. Combination Skin Mask: Balance and Nourish
Why it works: Combination skin needs targeted care to balance oily areas and hydrate dry patches. This two-part mask does just that.

Ingredients:
- For oily areas (T-zone): 1 tablespoon bentonite clay + water
- For dry areas: 1 tablespoon mashed avocado + 1 teaspoon honey
Step-by-step Instructions:
- Apply the clay mask to your T-zone and the avocado-honey mixture to drier areas.
- Let both masks sit for 15 minutes.
- Rinse with lukewarm water and follow with a hydrating serum or moisturizer.
Benefits:
- Clay: Regulates oil.
- Avocado & Honey: Deeply moisturize and rejuvenate dry areas.
Best homemade face masks for oily skin
4. Sensitive Skin Mask: Calm and Soothe
Why it works: Sensitive skin often reacts to harsh ingredients. This gentle mask reduces redness and soothes irritation.
Ingredients:
- 2 tablespoons of finely ground oatmeal
- 1 tablespoon aloe vera gel
- 1 teaspoon honey
Step-by-step Instructions:
- Mix oatmeal, aloe vera, and honey into a smooth paste.
- Apply a thin layer to your face, avoiding sensitive areas.
- Leave it on for 10-15 minutes, then rinse with cool water.
Benefits:
- Oatmeal: Soothes inflammation and gently exfoliates.
- Aloe Vera: Provides hydration and calms the skin.
- Honey: Moisturizes and heals.
Read More : Top 10 Skincare Products for Glowing Skin in 2025
5. Acne-Prone Skin Mask: Purify and Heal
Why it works: Acne-prone skin benefits from antibacterial and anti-inflammatory ingredients to fight breakouts.

Ingredients:
- 2 teaspoons turmeric powder
- 2 tablespoons plain yogurt
- 1 teaspoon honey
Step-by-step Instructions:
- Combine all ingredients in a bowl to form a paste.
- Apply an even layer to your face, focusing on acne-prone areas.
- Let it sit for 15-20 minutes and rinse thoroughly with lukewarm water.
Benefits:
- Turmeric: Reduces inflammation and lightens scars.
- Yogurt: Fights acne-causing bacteria and soothes the skin.
Pro Tips for Using DIY Face Masks:
- Do a Patch Test First: Apply a small amount on your wrist to check for any irritation before using it on your face.
- Prep Your Skin Properly: Make sure your face is clean before applying the mask for better absorption.
- Use It the Right Way: Face masks work best when used 1-2 times a week—don’t overdo it!
- Fresh is Best: Always make a fresh mask and avoid storing leftovers to keep it effective.
Your Skin, Your Way!
These DIY face masks are an easy and effective way to pamper your skin at home. Choose the one that suits your skin type, and enjoy a spa-like experience without breaking the bank.
Did you try one of these masks? Let us know your experience in the comments below!
Don’t forget to share this post with your friends and family who love natural skincare.
